Note: This was previous hosted on another blogsite and was written earlier in the year, but I'm moving it over to here as I restart using this blog.
There are a myriad of case and tray manufacturers on the market these days, from the stalwarts like Figures in Comfort or Feldherr, to the more recent but now veteran Battle Foam or KR Multicase and even a few new kids on the block who have found a gap in the market and crowd sourced their funding.
Over the years I have used a few different case options, from the third generation GW cases with their inefficient 4x9 slot trays and unwieldy lunch-box design, blazing the GW brand with its guaranteed demeaning stare attracting ways from joe public, to the Figures in Comfort shoulder case with its unusual Velcro wrap around design that never quite felt it would hold together when full of proper lead soldiers, to my current case of choice KR Multicase.
Full disclosure here, I own a lot of KR Multicases and I know both Daryl Elms (the engineering wizard behind the cases and trays and at least one member of the staff on a personal level). However, before you scream collusion, I was buying KR cases long before I met anyone employed by KR and my recommendations come from personal experience and not bribery. I hope...
One of the things I hear time and again when people are first introduced to KR's tray system is basically "how the hell do you work out what trays you need?". Its true that the range has now grown, with each new game of the month getting its own unique set of trays. Gaming has come a long way since my early days, and with the rise of crowd funding and the reach that the internet has given us, we've never had it better as gamers, but it can all get a bit overwhelming.
A few years ago, Daryl approached Tanelorn, an East London Wargaming club about using our fairly comprehensive collection of Warmachine and Hordes figures to produce a range of trays suited to our bulky models and their full metal ways (oh how I miss those days, but that's for another day).
There is now an ever growing range of WM trays on the KR site, but they are hidden away and somewhat confusing to understand. Therefore, to open this blog up, I decided to put my thoughts and understanding about how the WM trays are best used to (digitital) paper. Hope its of use to some of you new guys and girls out there.
The first thing to understand with the KR system is how the depth relates to the trays. KR cases now come in a few sizes, but the standard KR1 is a fairly average sized gaming tray that holds around 160 "standard" 32mm minis. KR trays will be a variety of depths and sizes, but usually are either half the width of a case, or the full width of a case, and available in 1/4, 1/3 1/2, 2/3 or 3/4 depth depending. There are more options within that, but for our needs today, those are the main sizes we will be looking at.
To fill a case, you just add trays until its full. Simple right? So, if you were planning on putting some 30mm based Mechanithralls in a tray, you could grab the F3H (my most trusted tray) a 1/2 width, 1/3 depth tray with 18 slots that comfortably fits a single 30mm based figure in it.
Three of these trays fits half the capacity of a full case, holding 58 miniatures in their own individual slots. 3 x 1/3 = 1 = the depth of the case.
Anyway, hopefully that gives some idea of how to use the KR system, and as you start to pick up their trays and cases it does become more intuitive. If you are ever at a show where KR exhibit, go talk to them as they will be more than willing to give you a hands on demonstration of the tray system.
We are here to talk WM trays, so lets have a look at the options. Probably the easiest way to view all the WM trays is to go to the KR website and type WM in the search box. This will bring up all the tray designs intended for your Privateer Press miniatures. WM Trays
At the time of writing there are 17 trays in the range (there is no WM15 for some reason, who knows what horrors that would have unleashed on the world had it ever seen the light of day. They are a good mix of specific trays (IE the Colossal ones) and more generic trays that have a couple of uses.
Lets go through each of the trays in turn. The page has a good description of their intended use, but with a bit of imagination, you can find the best fit for your models.
The first few trays were envisioned shortly after the arrival of "Huge Bases", with Colossals, Gargantuans and Battle Engines all sitting on 120mm bases, we'd never seen anything as big as this on the battlefields of Immoren. As such, a range of trays designed to fit them seemed a good idea.
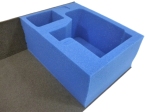
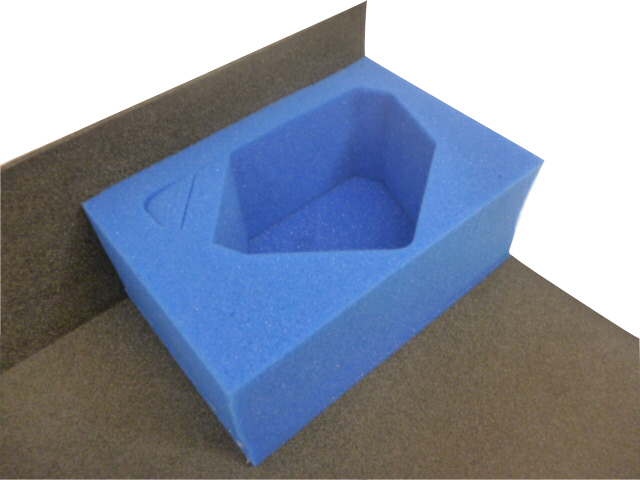
The WM1 and WM4 are designed to fit a Colossal or Gargantuan in fairly comfortably. A KR case is 120mm high, so a Huge Base will fit lying down in these trays.
Both these trays fill half the width of a standard case, and are full depth. As such you can have two per standard case, or treat each of your show-piece miniatures to its own personal transport by putting them in a half width case.
Note that there are optional foam expansions that can be pulled out to match the pose and design of your figure. These trays should work with most, if not all of the Colossal/Gargantuan range, but if you are unsure, give KR a ring or email and they will be happy to help.

Accompanying these two trays, the WM2, WM3, WM5 and WM6 all fit one of the various battle engines in, with some spare space to put accompanying figures, solos or whatever else makes sense for the extra space. KR do a good job of maximising space use in their trays.
Again, these are designed to fill half of your standard case.


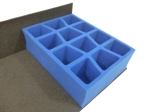
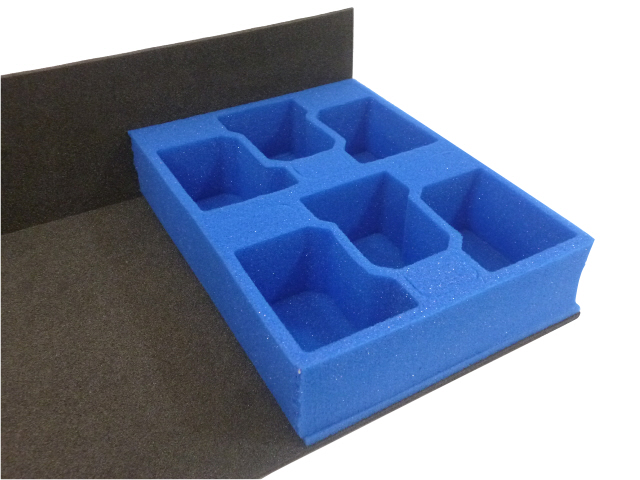
The next set of trays was a fantastic addition. I affectionately refer to this tray as the "Gator Tray" as at the time I got my hands on them, I was working on some Blindwater miniatures. These days the trays pull service holding my Banes when I take them away for events.
The WM7, WM8 and WM9 are a 1/3, 1,2 and 2,3 depth half width tray that hold 12 30mm or 40mm based figures. I favour the 1/2 depth WM8, but as ever it comes down to your needs. Two WM8s is half a case and that lets me carry a full Bane Knight unit and a full Bane Thrall unit including its Unit Attachment, with space left for two solos, or perhaps for a Bane Knight UA if one ever appears.


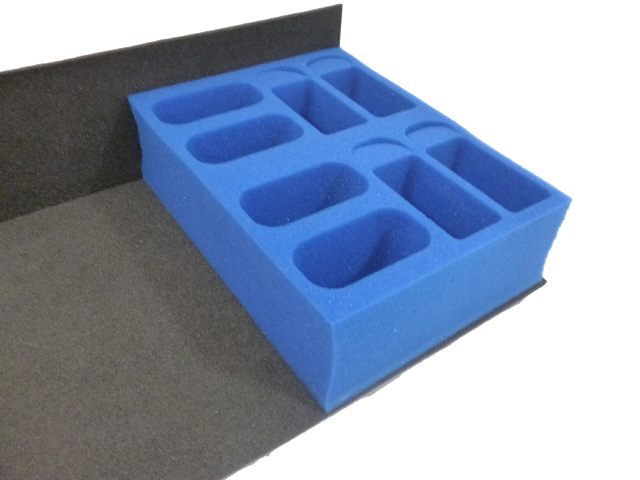
The WM10 and WM11 are again 1/2 width trays (I started using full width trays, but found they were both a little inflexible in terms of options, while being a little too flexible in terms of rigidity, when filled with 40 lead figures, they sagged more than I would like). KR's move to the 1/2 width tray as default was a good one, and almost all of my cases are filled with these as a result.
The WM10 is 1/2 a case in depth for your shorter models, with the WM11 being 2/3 depth for those taller warjacks.
These two trays are good for 50mm based figures, with Cavalry and Heavy Warjacks being the most obvious choice. Again, there are expansion slots on both sides for those pesky lances and held weapons. Fitting eight models to a tray, two of these should meet most of your needs when taking a list or two to events.


The WM12 is not a tray I am familiar with, but it would hold some of your oversized 50mm bases, such as the extreme sculpts well. Its unusual as it fills 1/4 of a tray layer, so you could fit four of these trays to a case layer by the looks of things. I can't think of many KR trays that match this configuration, so I would be a little wary of using this. At the very least, you will need two of them to work alongside the standard tray load-outs.
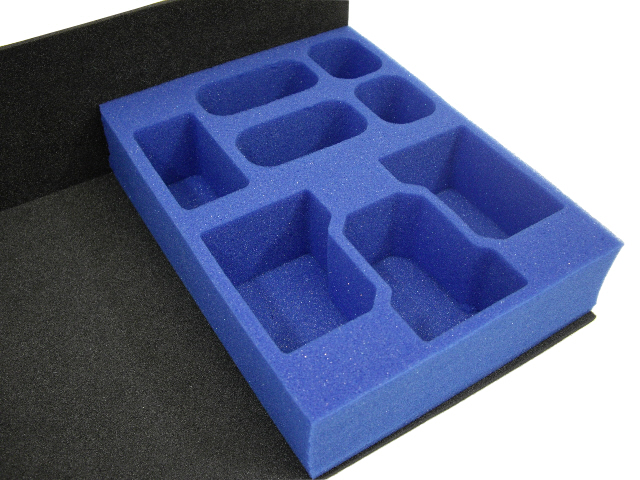
The WM 13 will hold your 40mm based infantry, warjacks and casters who bring polearms and spears to the table. Man O War are the most obvious beneficiary of the tray, but there are plenty of miniatures in the range that will find a good home here.
The WM14 holds 50mm miniatures in a slightly different configuration to the WM10/11. I am not such a fan of metal figures lying on their sides in trays as it can damage delicate parts, but for the newer PVC and styrene kits, this tray will be absolutely serviceable.
It only holds six models, but again it has the expansion slots for customisation and you can stack two in 1/2 a case, so that gives you room for 12 heavies, enough to make Mortenebra proud.
The WM16 and WM17 are again trays I am not familiar with so I cannot make much in the way of recommendation. They have a good range of slot options, so if you are holding an assorted range of larger figures, this could be worth exploring.
They are 1/3 and 1/2 depth, so you can fit them in with many of the staple trays to give the exact combination of trays you require.

The final tray for today is the newest kid on the block. The WM18 was conceived as the "Press Ganger tray" from what I was told, and is a great tray for holding your battle boxes and smaller "Mangled Metal" style lists. One of these will hold most combinations of two Battle Boxes, so if you are a PG, or like to throw demos for friends, loved ones or random strangers in the streets, this could be the tray for you.
Two of these will fill a 1/2 case, or you could explore the recent range of smaller cases KR put out. Its a great tray that has found its way into my collection as it offers a good amount of flexibility when I need to carry out my PG duties.
So, that's a brief run down of the WM range of trays from KR to date. Hopefully it is of use to some of you. I know dipping your toes into the KR range can be a little daunting, so when in doubt, ask the team at KR.
If you want to drop me a question you can tweet me @J0nW3bb or send a message to my painting studio via Facebook at Sinister Squid Studios.
Thanks for reading, and I will leave you with a short gallery of some of the trays in use, holding my Cryx.


NOTE: Images taken from the KR site and used without permission. No ownership or copyright claim of these images intended.


